
Last updated November 4, 2026
 Wrought iron
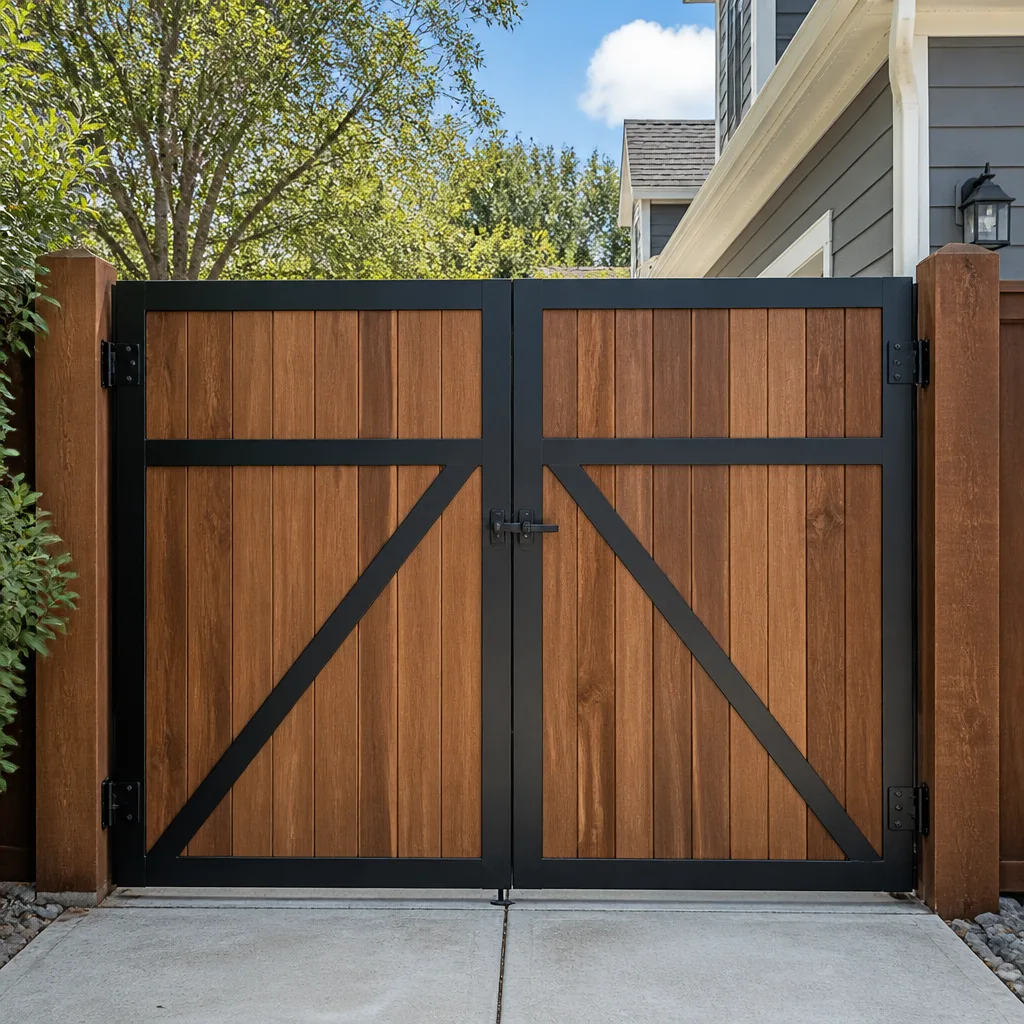 Wood & steel frame
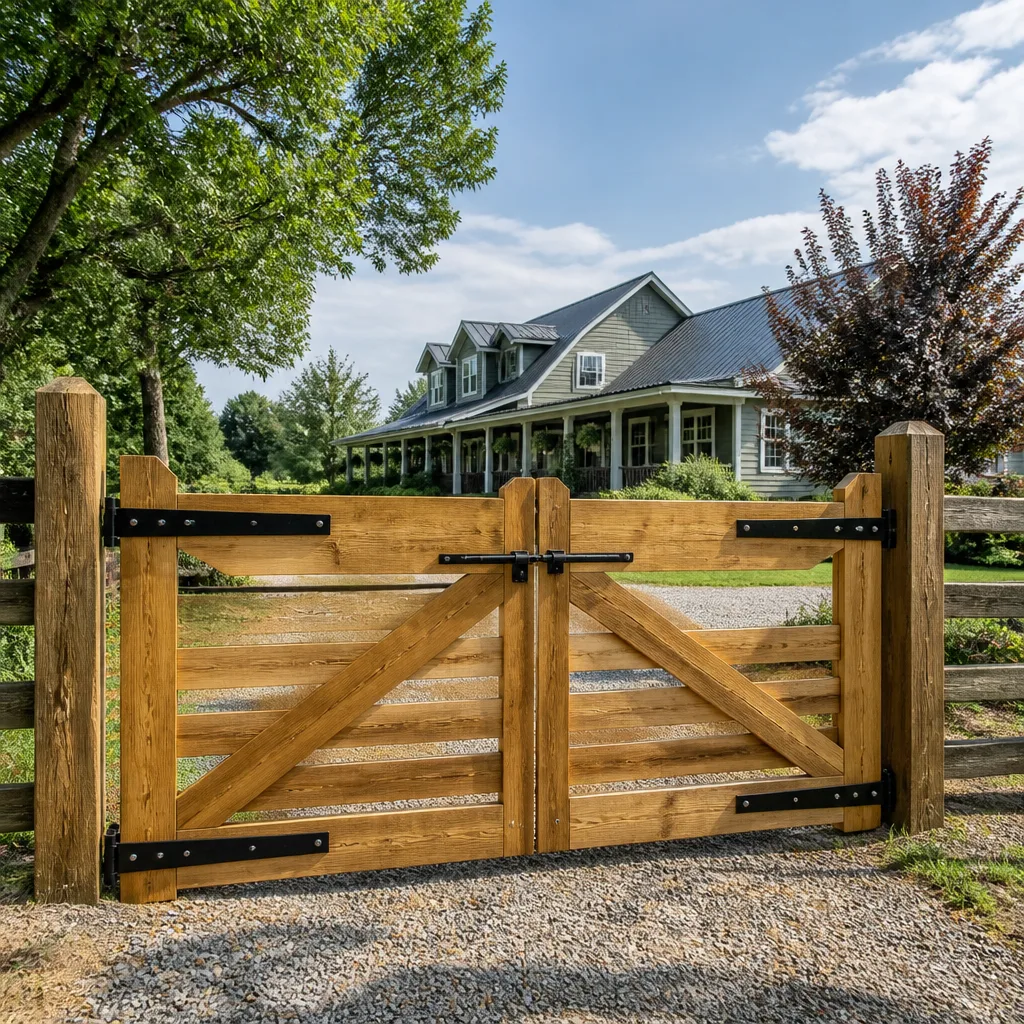 Farm & ranch
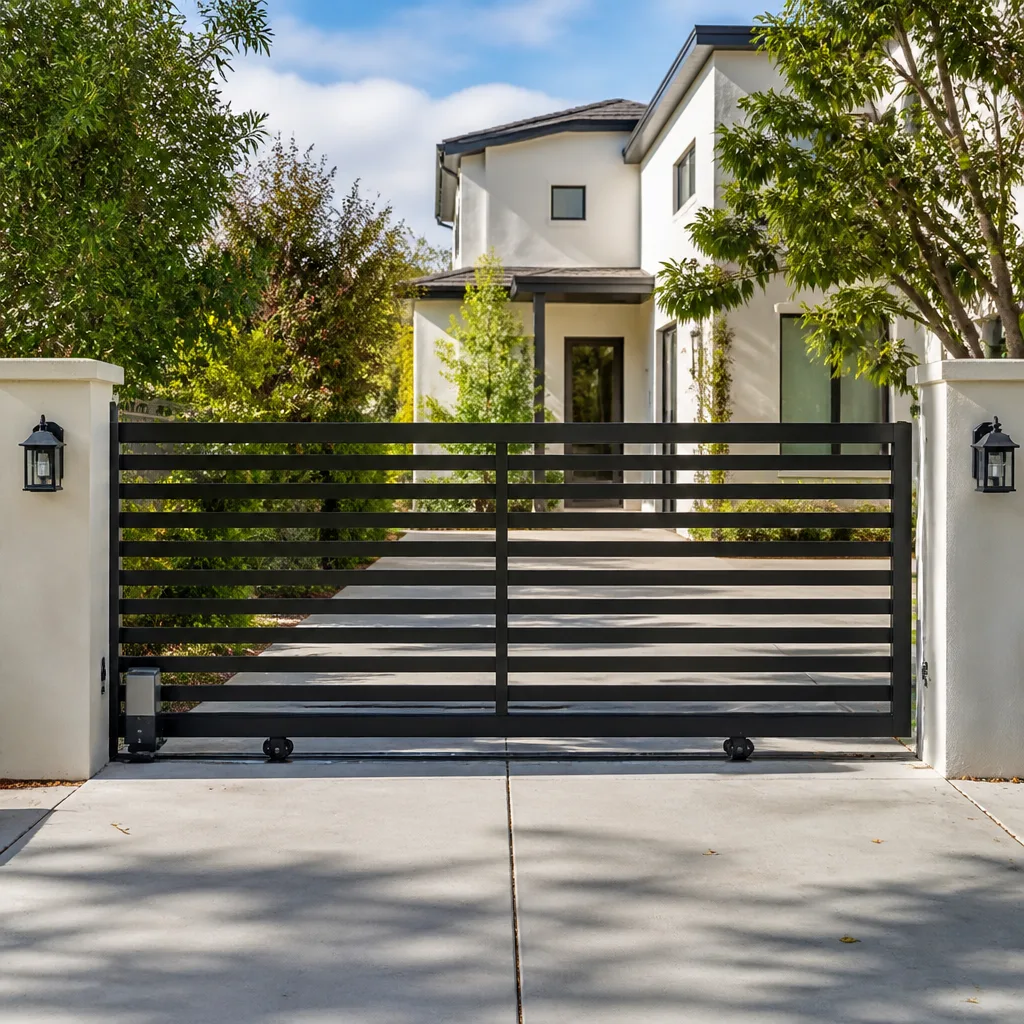 Sliding driveway gates
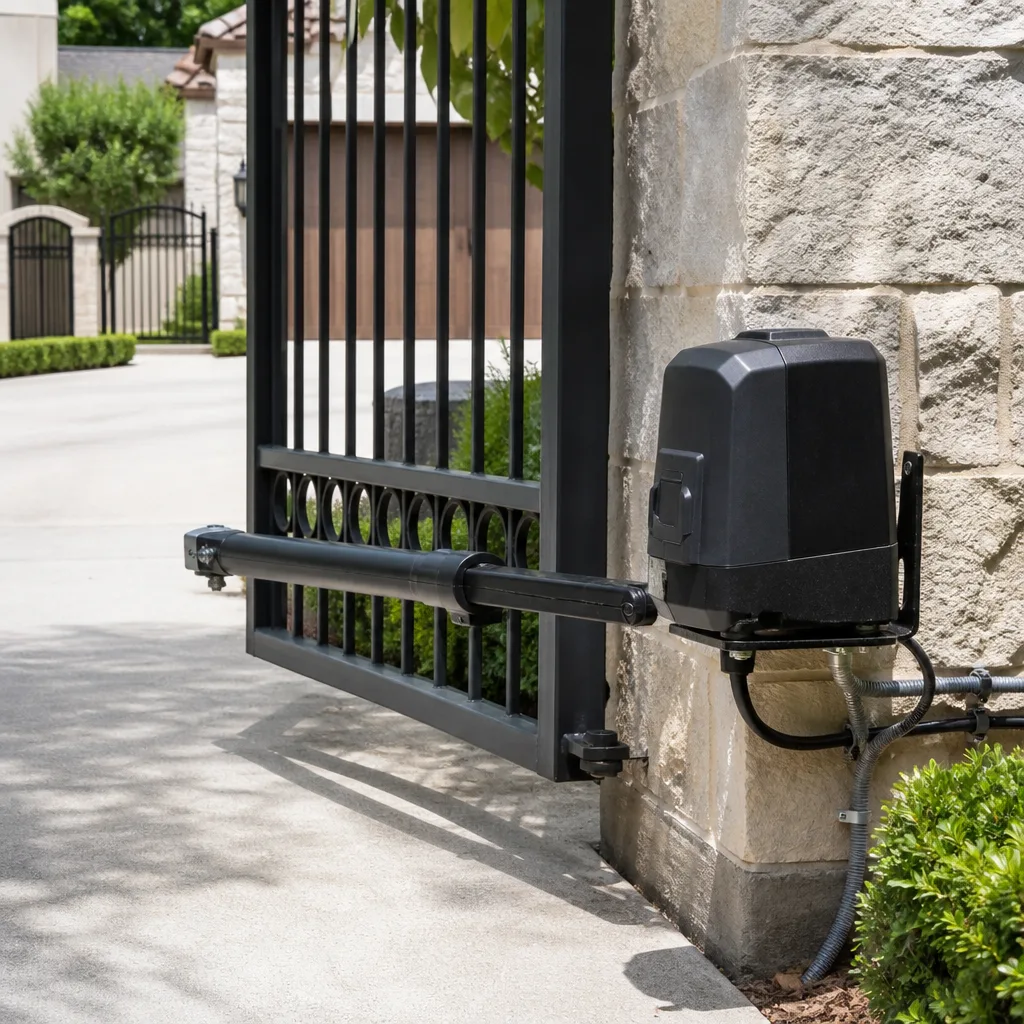 LiftMaster operators
Free on-site gate assessment - hinges, posts, and your LiftMaster or Nice gate operator checked before anything is quoted
The assessment is free and the quote is the invoice.
Get your free estimateGate Repair Troubleshooting in Highland Park: Common Problems and How to Fix Them
The gate that “just stopped working” overnight almost never failed overnight. What actually happened is quieter: a hinge wore down over months, a limit switch drifted a few millimeters each cycle, a capacitor degraded through a hundred heat spells. The final symptom is simply where the chain of deferred damage ended. This guide walks you through reading the symptoms your Highland Park gate is showing so you can separate a simple adjustment from a genuine control board or motor failure before anyone starts replacing parts.
Quick Answer
Most Highland Park gate failures trace back to one of five root causes: power interruption, limit switch drift, a failed safety sensor or loop detector, mechanical binding from shifting soil or worn hinges, or a control board that has stopped receiving clean input. Identifying which one you’re dealing with starts with observing the gate’s behavior pattern, not jumping straight to part replacement. A gate that opens but won’t close points to a safety device; a gate that hums but doesn’t move points to a capacitor or mechanical bind; a gate that does nothing at all points to power or board.
Styles & brands we work with
- Wrought iron
- Wood & steel frame
- Farm & ranch
- Sliding driveway gates
- LiftMaster operators
Table of Contents
- Reading Your Gate’s Symptoms Before Touching Anything
- Power Problems: The Most Common Silent Failure
- Mechanical Binding and Highland Park’s Hillside Soil
- Limit Switch Drift: When the Gate Almost Works
- Control Board Failure vs. Motor Failure: Distinguishing the Two
- Reading Brand-Specific Error Codes: LiftMaster, BFT, and FAAC
- When an “Almost Working” Gate Is More Dangerous Than a Dead One
- The Diagnostic Order of Operations That Protects Your Warranty
Reading Your Gate’s Symptoms Before Touching Anything
Before you reach for a multimeter or start adjusting anything, watch the gate through at least three complete open-close cycles. Note exactly what happens at each stage: does the motor engage immediately, does the gate move at full speed, does it slow down near the end of travel, does it stop cleanly or slam. Homeowners in Highland Park often skip this observation step and go straight to “the motor must be dead,” when the real issue is a safety sensor that’s been bumped out of alignment by a gardener’s leaf blower or a car backing too close to the track.
The pattern of failure tells you more than the failure itself. A gate that opens fully but refuses to close is almost never a motor problem, it’s a safety input problem. The operator thinks something is in the way. A gate that moves slower than usual in one direction only usually signals mechanical resistance on that side, not an electrical fault. A gate that starts and stops erratically at random points suggests power fluctuation or a failing capacitor. We’ve diagnosed many Highland Park gates where the customer had already purchased a replacement motor based on the wrong reading of these symptoms.
Here’s the behavioral cheat sheet we use on every site visit:
- No response at all, no click, no hum: Power interruption, tripped breaker, failed transformer, or dead control board.
- Hums but doesn’t move: Capacitor failure or mechanical bind. If the motor is humming, it’s getting power but can’t convert it to motion.
- Opens but won’t close: Safety sensor misalignment, photo-eye obstruction, or loop detector phantom activation.
- Closes but won’t open: Less common. Often a limit switch that’s drifted past its open position or a reversing edge that’s stuck in triggered mode.
- Moves partway then reverses: Sensitivity setting too tight, an obstruction sensor picking up resistance, or a bind at a specific point in the track.
- Moves erratically, stops at random points: Power fluctuation, loose wiring connection, or a control board that’s dropping its logic intermittently.
Power Problems: The Most Common Silent Failure
In our experience across Sentinel Gate Repair service calls in Highland Park, roughly a third of all “dead gate” reports are power problems that never required a single replacement part. The gate operator is plugged into an outlet that’s on a GFCI circuit, and Highland Park’s older hillside homes often have outdoor outlets that trip silently. Check the outlet itself before anything else: plug a drill or a lamp into the same receptacle and see if it works. If the outlet is dead, reset the GFCI and the breaker before touching the gate.
A second common power culprit is the low-voltage transformer. Most automated gate systems run the motor on 120V or 240V but the control board and accessories on 24V. If the transformer fails, the board goes dark while the motor physically could still run. You’ll see no LED lights on the control board at all. This is a transformer replacement, not a full gate replacement, and it’s one of the least expensive fixes we do.
Power issues in Highland Park also trace to the way solar gate operators perform here. Homes on the hillside lots east of Figueroa often have long sun exposure that works well for solar-charged batteries in the summer, but the shorter winter days plus morning shade from the hills themselves can leave a battery undercharged. If your gate works perfectly all summer and gets sluggish in December, that’s the battery telling you it’s aging and not getting enough recovery time. A technician can test the battery under load and tell you whether it’s a battery replacement or a panel repositioning.
Mechanical Binding and Highland Park’s Hillside Soil
Highland Park sits on ground that moves. The neighborhood’s hillside lots, especially those climbing up toward York Boulevard and the steeper streets off Figueroa Street, experience soil creep that flat-lot gate guides never address. A gate that’s been running fine for eight years can suddenly start binding because the gate post has settled a quarter inch, throwing the hinges out of alignment and putting the entire weight of the gate leaf on the motor. The operator is now fighting friction it was never designed to overcome.
Signs of ground-shift binding are specific. The gate moves fine for the first few feet of travel, then slows noticeably or groans as it passes the midpoint. The hinges show visible wear on one side only. The gate no longer sits level, the top edge slopes slightly toward the latch side. A gate that binds will eventually burn out a perfectly good motor, so catching this early saves real money.
Highland Park’s older properties also carry swing gates that were originally manual, then retrofitted with automation at some point. These retrofit gates often have hinges that were sized for manual operation, not for the constant torque of an electric operator. The repeated stress widens the hinge pin holes, and the gate starts to sag. If you have a retrofit automated gate on a Highland Park home built before the 1990s, have a gate specialist check the hinge wear even if the gate currently works. Replacing worn hinges before they fail is a fraction of the cost of a gate that comes off its post.
Limit Switch Drift: When the Gate Almost Works
A limit switch tells the operator where the gate’s open and closed positions are. When everything is new, the gate stops exactly where it should. Over time, vibration, temperature cycles, and repeated operation cause the limit switch to drift. The gate opens too far and the motor keeps pushing after the gate has physically stopped, or it stops short of fully open, leaving a gap you squeeze through with the car.
The most telling sign of limit drift is a gate that stops consistently at the wrong position. Same spot in the travel arc every time, just not the correct spot. This is not a motor problem, not a board problem, not a safety sensor issue. It’s a mechanical switch that needs adjustment or replacement. On older operators, the limit switch is often a physical component you can see. On newer systems, including most electric gate repair calls we handle on LiftMaster and BFT units, the limits are set digitally through the board and drift is actually a symptom of a failing encoder or a board that’s losing its memory.
If you’re adjusting limit switches yourself, understand this: setting the limits too wide is how motors get burned out. The motor strains against a gate that’s already reached the physical stop. If you hear a grinding or straining sound at the end of travel, stop running the gate until the limits are set correctly. A gate that stops cleanly, without strain, at both ends of travel is what you’re aiming for.
Control Board Failure vs. Motor Failure: Distinguishing the Two
This is the $900 question. A technician who misdiagnoses a control board problem as a motor problem will replace the motor, bill you for it, and the gate will still not work. The reverse also happens. Understanding which failure you’re dealing with before calling anyone protects you from paying for someone else’s guess.
Motor failures are almost always preceded by a change in behavior that the homeowner noticed but didn’t act on. The gate got slower over weeks or months. It made more noise. It strained, it groaned, it needed a push to get started. Then one day it stopped moving entirely. That progression, slow degradation over time, is the classic motor failure signature. Test it directly: if you disconnect the motor from the gate and the motor still won’t run, the motor is dead. If it runs when disconnected but won’t move the gate, the problem is mechanical binding, not the motor.
Control board failures look different. The board can fail suddenly, with no warning. One day the gate works, the next day it doesn’t. No gradual slowdown, no new noises. The board may show no LED lights at all (dead), or it may show lights but not respond to any input (logic failure), or it may respond intermittently (a cold solder joint or failing relay). A board that’s losing its programming will forget its limits, forget its remote codes, or fail to activate the motor even when manually triggered.
Here’s the diagnostic sequence we run, in order:
- Confirm incoming power to the operator at the outlet and transformer.
- Trigger the motor directly, bypassing the board (a technician does this; it requires opening the housing and understanding which terminals are live).
- If the motor runs when directly triggered, the motor is fine and the board is suspect.
- If the motor does not run when directly triggered, test the capacitor, then the motor itself.
- Test the board’s inputs: wall button, remote receiver, safety sensors, and loop detector, in that order.
What we’ve learned doing this in Highland Park: most “board failures” on older gates are actually connection failures. A loose spade connector, a corroded terminal block, a wire that’s pulled loose from vibration. The board is fine. The connection isn’t. A specialist checks the wiring before condemning the board.
Reading Brand-Specific Error Codes: LiftMaster, BFT, and FAAC
Your gate operator is telling you what’s wrong. Most homeowners never check because they don’t know where to look. The control board on nearly every automated gate operator made in the last two decades has diagnostic LEDs or a small display that flashes specific patterns. Reading these codes correctly saves time and prevents misdiagnosis.
LiftMaster systems, common across Highland Park’s newer automated driveway gates, use the main board’s diagnostic LED. A solid light means normal operation. A flashing sequence tells you the specific fault. On LiftMaster residential gate operators, two flashes typically means a disconnected or misaligned safety sensor. Three flashes relates to the reversing edge or obstruction sensor. Four flashes points to a limit switch error. Five flashes sits in the board’s memory as a recent motor overload. The exact numbers vary by model, but the principle holds: LiftMaster tells you what it thinks is wrong.
BFT operators, the Italian-engineered systems we see on a lot of Highland Park’s custom gates, use both LED indicators and an alphanumeric display on higher-end models. BFT’s Max and Deimos series show fault codes as letters and numbers. A consistent pattern: ERR2 relates to the safety edge input, ERR4 to the limit switch, ERR7 to the capacitor or motor start circuit. If you have a BFT with a display, don’t clear the code before noting it down. That code is the single most useful piece of diagnostic information available.
FAAC systems use a set of LEDs on the control board. The power LED should be solid green. The fault LED lights or blinks when a condition exists. FAAC’s older 400-series boards are notorious for a specific issue: the board will work for years, then start locking out intermittently because the low-voltage transformer chain has drifted. FAAC also uses a diagnostic flash pattern on the board’s red LED, and matching the pattern against the manual that came with the gate settles most questions in under five minutes.
One warning about error codes: do not clear a fault state just to see if it comes back. A technician can read a stored fault history that disappears once you reset it. If the gate has a current fault showing, write down the code, note the behavior that produced it, and pass that information along. The worst thing you can do from a diagnostic standpoint is reset a code and erase the evidence.
When an “Almost Working” Gate Is More Dangerous Than a Dead One
A gate that won’t move is inconvenient. A gate that moves unpredictably is dangerous. Heavy automated gates carry enough force to crush a person or a pet, and a gate that’s malfunctioning in the right way becomes a serious safety hazard. The most dangerous failures are the ones where the gate starts moving without input, stops responding to the reversing edge, or closes with full force on an obstruction.
The reversing edge, or safety edge, is the pressure-sensitive strip that tells the gate to stop and reverse when it hits something. If that edge has failed, the gate will keep closing against whatever is in its path. One common failure mode we’ve seen is a safety edge that works in warm weather and stops responding in cold, because the rubber or the internal sensor has degraded. The gate “almost works” until the moment it doesn’t reverse on a child, a dog, or a car bumper.
Gate repair on a system with a failed safety edge is not optional. A loop detector that’s been bypassed is another red flag. Loop detectors are the sensors buried in the driveway that tell the gate to open for a car. When they fail, some owners or unqualified repair people bypass them so the gate can be operated manually. That bypass disables the gate’s ability to distinguish between a car and a person, and it can cause the gate to close on a vehicle that’s not fully through. If your gate has been bypassed in any way, restore the safety devices before using the gate as intended.
The warning signs of a dangerous gate are specific. The gate reverses randomly when nothing is in its path. The gate doesn’t reverse when you push against the safety edge. The gate closes with noticeably more force than it used to. Any of these means the system needs attention from someone who understands the safety logic built into automated gates, not someone who’s just going to make it open and close.
The Diagnostic Order of Operations That Protects Your Warranty
Most gate operator manufacturers have specific warranty language that voids coverage if the unit is opened, modified, or serviced by someone other than a qualified technician. But there’s a difference between performing diagnosis and performing a repair. Checking power, observing behavior, and noting error codes don’t void anything. Changing settings on the board, adjusting limit stops, or rewiring connections does.
Here’s the safe diagnostic sequence for a homeowner who wants to gather information before calling a gate specialist:
- Observe and document. Run the gate through its full open-close cycle three times. Note exactly what happens at each stage. Write down the symptoms in plain language.
- Check the obvious power sources. Test the outlet with another device. Reset the GFCI if it’s tripped. Confirm the breaker isn’t off.
- Look at the operator’s LEDs. Note which lights are on, which are blinking, and what pattern they show. Do not press any reset buttons.
- Check the safety sensors visually. Are the photo-eyes aligned? Is anything blocking the beam? Is the safety edge visible and intact? Don’t bypass anything.
- Inspect the gate’s physical movement. Open and close it manually (if the operator has a manual release) and feel for binding, grinding, or uneven weight distribution.
- Call with your notes. A gate specialist who hears “LiftMaster with two flashes, gate opens but won’t close, safety eyes look aligned but one is loose in its mount” can prepare the right parts before arriving.
This sequence protects your warranty while giving the technician what they need for a right diagnosis on the first visit. We’d rather take a call from someone who’s observed carefully than from someone who’s already started unscrewing things and resetting codes.
Why Highland Park’s Gate Failures Follow a Pattern
Highland Park’s specific conditions create repeating failure modes that a local gate specialist learns to expect. The neighborhood’s hillside streets put constant lateral stress on gate posts and hinges. The older housing stock means many automated gates are retrofits on structures built for manual operation. The long, hot summers stress capacitors and batteries. The combination of these factors means a Highland Park gate that’s been automated for eight to ten years is entering the window where its original components are reaching end of life, not all at once, but in sequence.
The value of working with a company that knows Highland Park specifically is that we’ve already seen the failure you’re experiencing. The hinge wear pattern on gates near the hillside lots. The capacitor failures on operators that sit in full afternoon sun. The limit switch drift on older FAAC and BFT units that were installed before digital limiting became standard. None of this is mysterious once you’ve worked on enough gates in the same neighborhood.
Sentinel Gate Repair is a gate-only specialist, not a general home-service company that sends a different tech for every problem. Our technicians are hands-on familiar with LiftMaster, FAAC, BFT, Linear, Viking, Ghost Controls, DoorKing, Elite, and Mighty Mule systems. That brand familiarity matters when the difference between a right diagnosis and a wrong one is knowing what this particular control board’s flash pattern means before opening the housing.
See the difference
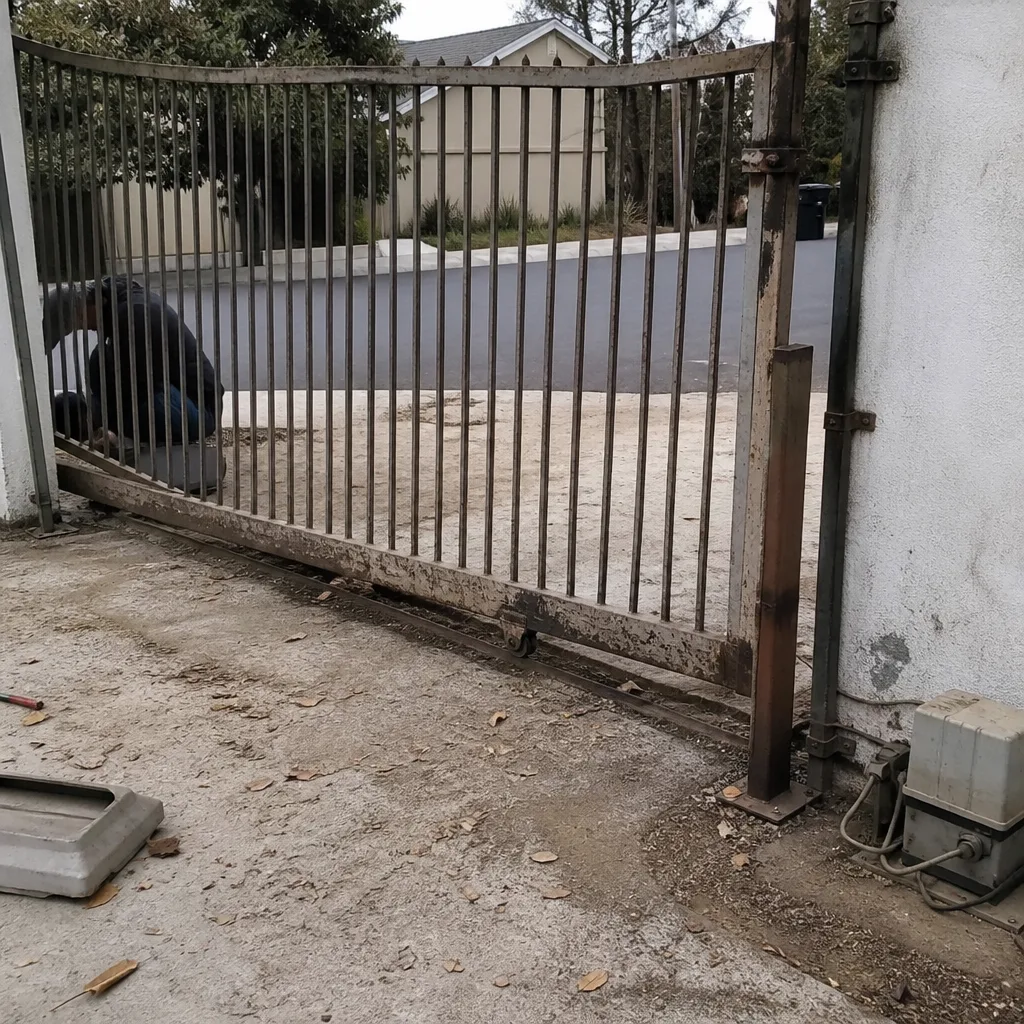 Before
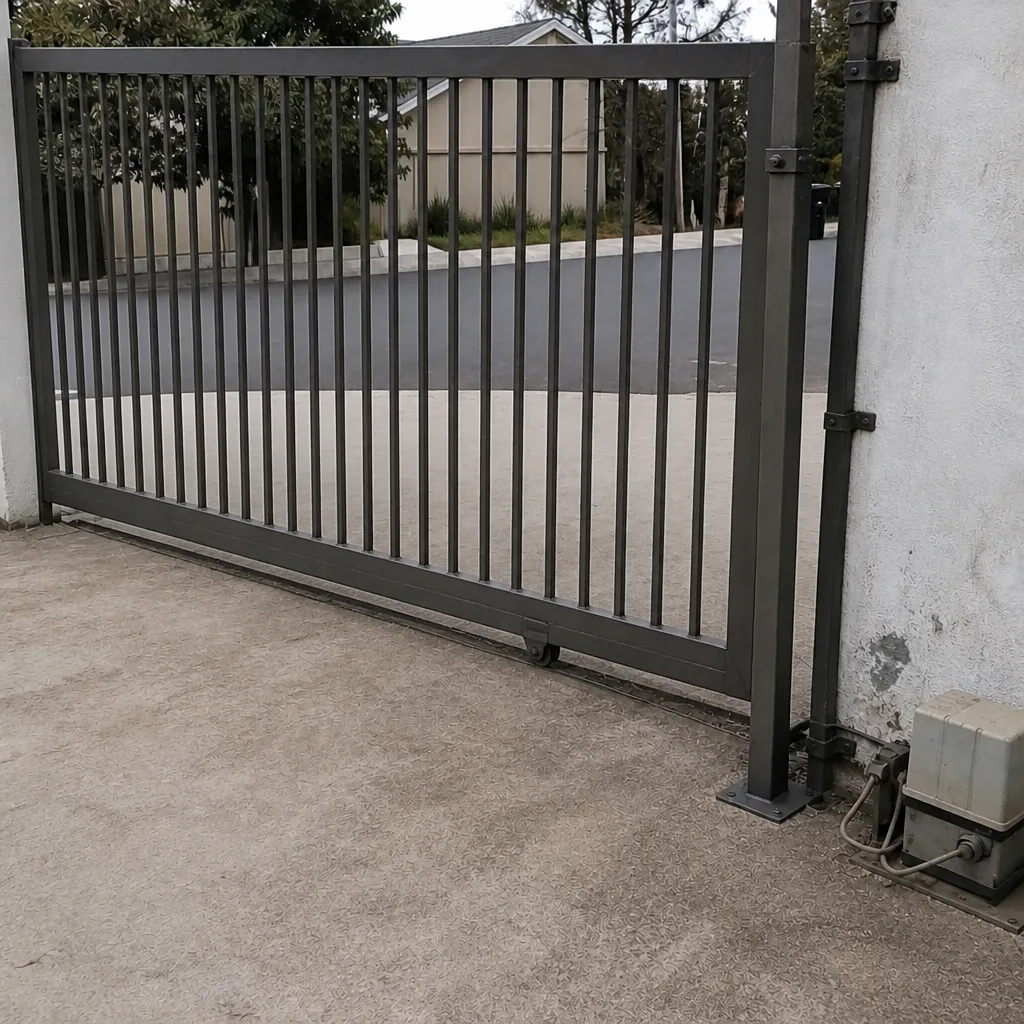 After
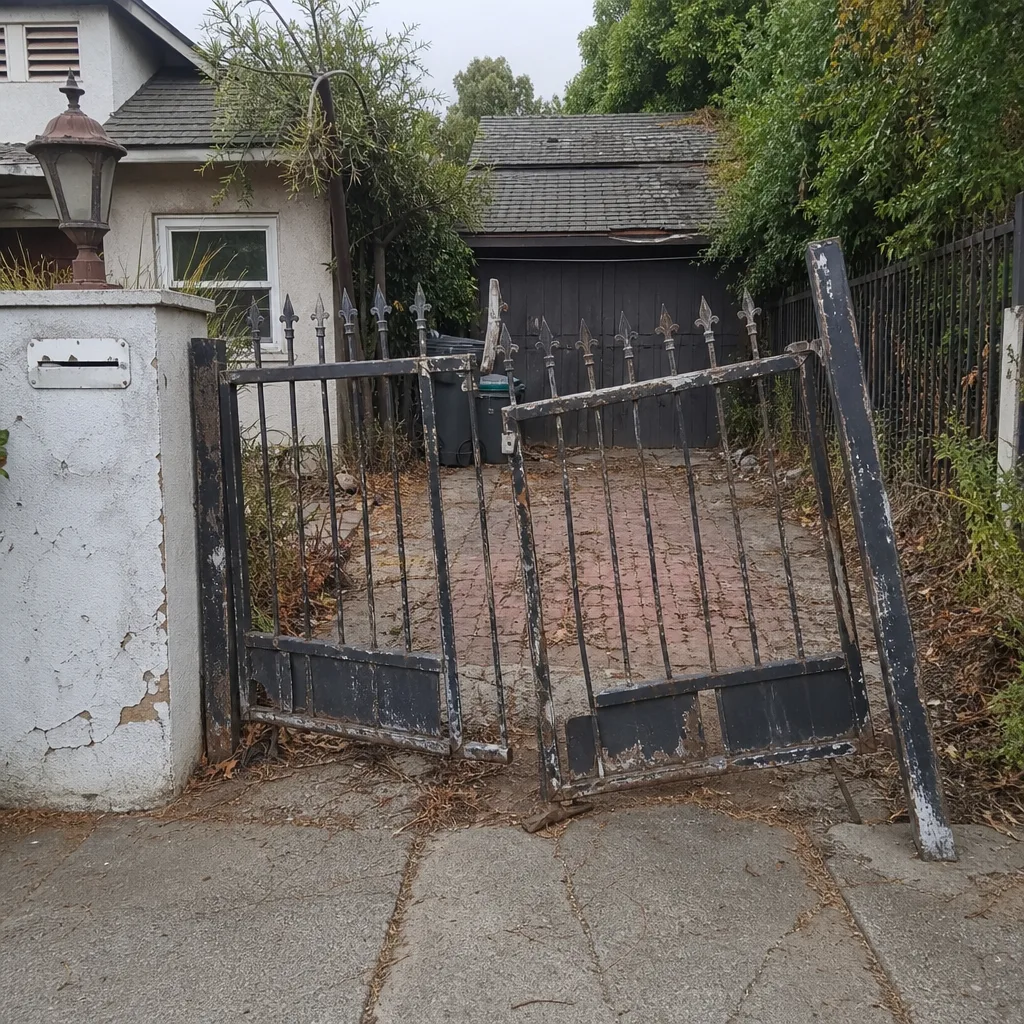 Before
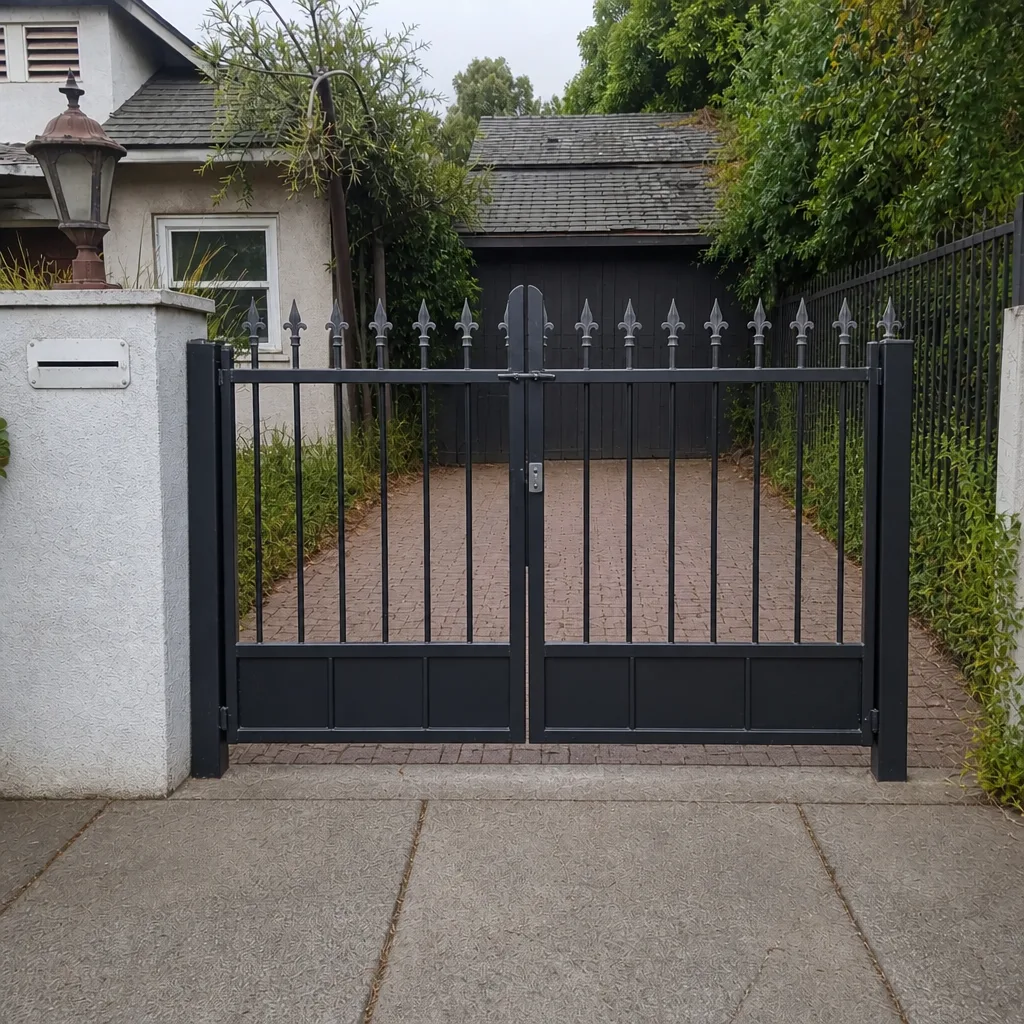 After
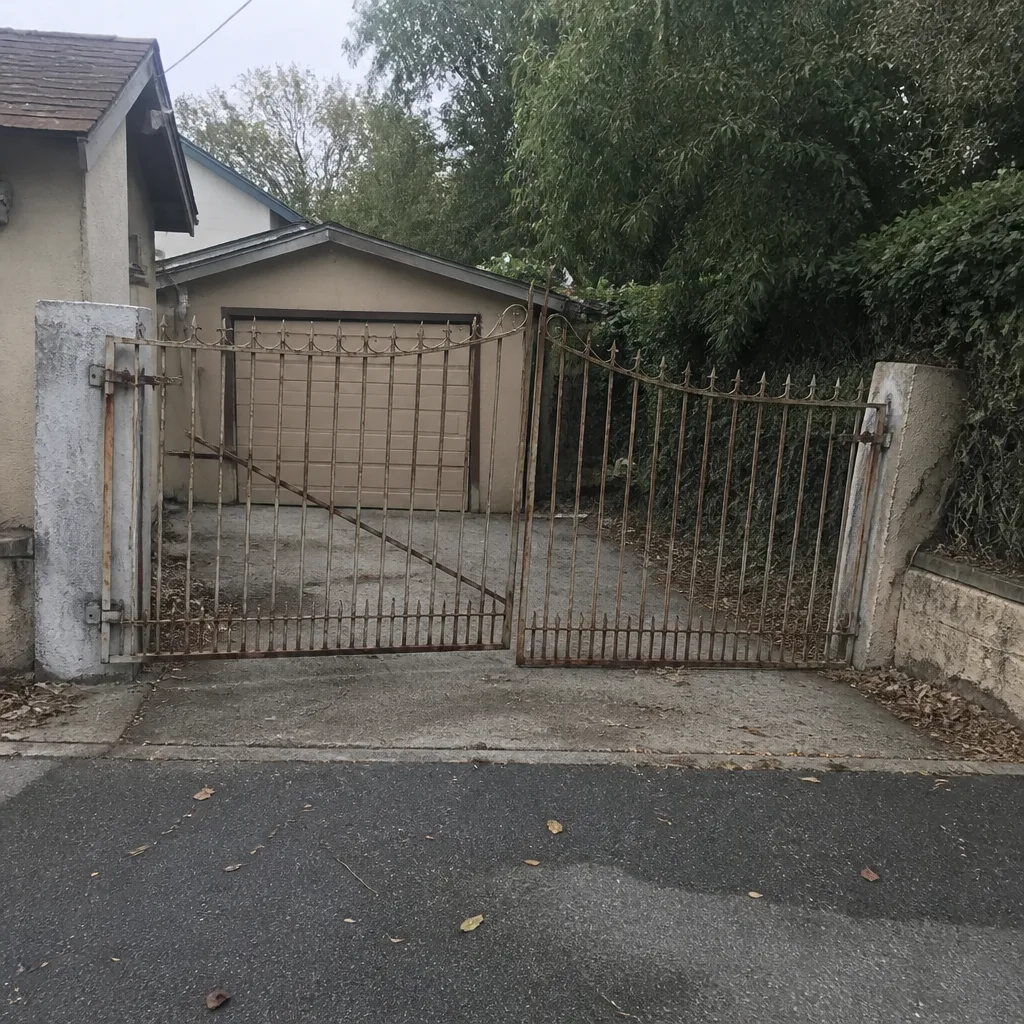 Before
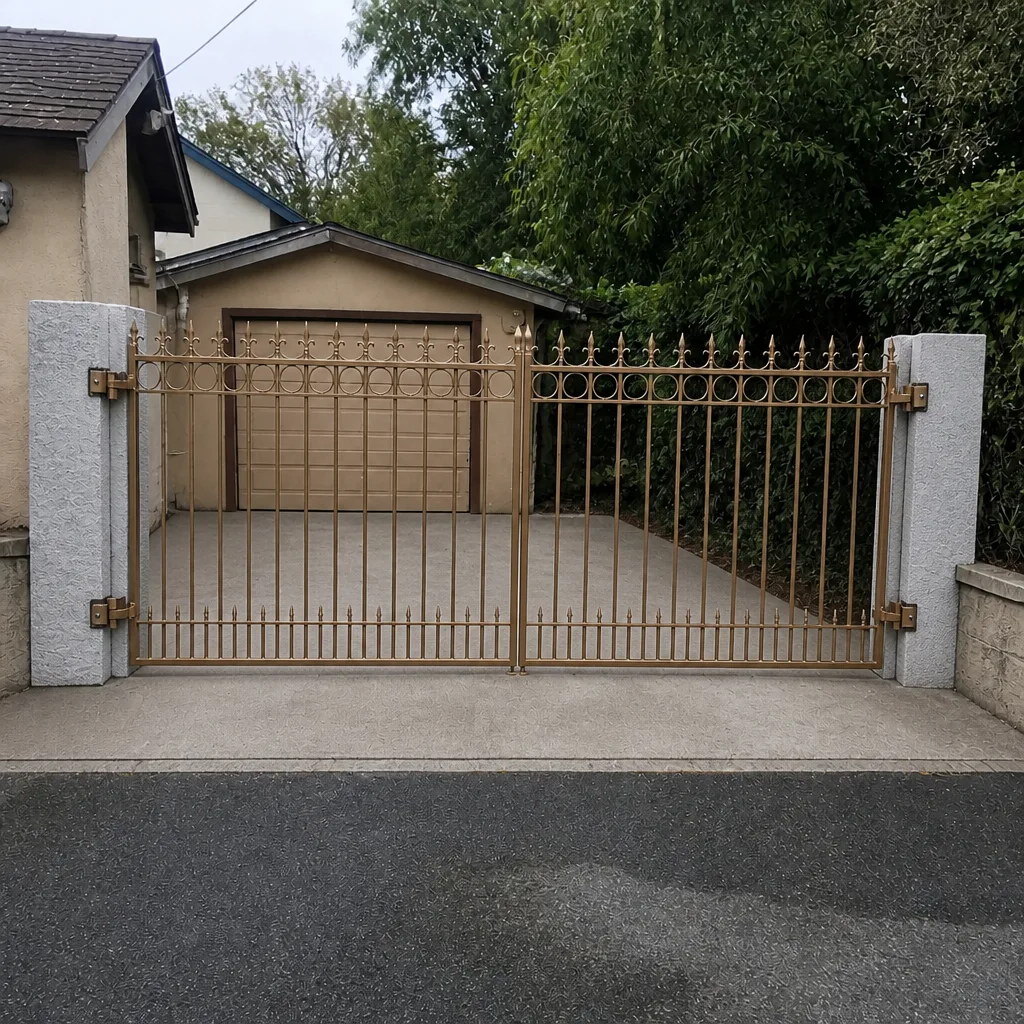 After
Common Mistakes to Avoid
- Replacing the motor before ruling out the capacitor. The capacitor is a $25-$40 part. The motor is several hundred dollars. A humming gate that won’t move is a capacitor failure about half the time, and we’ve replaced capacitors on Highland Park gates where the homeowner had already budgeted for a full motor replacement.
- Ignoring a slow gate. A gate that’s getting slower is sending a signal. It might be a motor wearing out, a capacitor degrading, or mechanical resistance developing. Whatever the cause, the cost to address it early is a fraction of the cost to address it after total failure.
- Bypassing safety devices to keep the gate working. Disabling a photo-eye or a reversing edge so the gate will operate is how people get hurt. The safety devices are the gate’s last line of defense against crushing injuries.
- Clearing error codes before recording them. The fault history in a control board is diagnostic gold. Once you reset it, that information is gone. Write down every code before touching any reset button.
- Adjusting limit switches without understanding the consequences. Limits set too wide cause the motor to strain against the physical stops every single cycle. The damage is cumulative and permanent.
- Calling a general handyman for a control board diagnostic. Electrical work on automated gates requires low-voltage expertise and brand-specific knowledge. A general repair person who’s never worked on a BFT board is guessing, and you’re paying for the guess.
When to Call a Professional
Call a gate specialist when the gate’s problem involves a control board, a capacitor, a motor, or any safety device. Those are the failures where a wrong guess means either wasted money on wrong parts, a voided warranty, or a dangerous gate. Any fault involving the reversing edge, the photo-eyes, or the loop detector is a safety-critical repair that should be handled by someone who understands the complete safety logic of automated gate systems. Any problem that requires opening the operator housing and testing live electrical connections is beyond what a homeowner should attempt. Your gate is your property’s first line of access control, and a specialist who knows your brand’s systems is the difference between a right diagnosis on the first visit and a trial-and-error repair. Sentinel Gate Repair offers free estimates in Highland Park, call (855) 490-6590.
Frequently Asked Questions
Gate repair costs in Highland Park vary widely depending on the failure. A capacitor replacement typically runs under $100 in parts. A limit switch adjustment or replacement is usually under $200. A control board replacement on a LiftMaster, BFT, or FAAC system generally falls between $400 and $900 depending on the model. A full motor replacement can run from $600 to $1,500 or more on high-end systems. These are rough ranges, not quotes, and the only way to know for certain is a written estimate after diagnosis. Call (855) 490-6590 for a free estimate, and we’ll confirm the exact price before any work starts.
Many gate repairs can be completed same-day, especially when the problem is a capacitor, limit switch, remote programming, or safety sensor alignment. More involved repairs, like control board replacement or motor replacement, may require ordering a specific part, though we stock common components for the brands we service most often. Call (855) 490-6590 and describe the symptoms; we can often tell you over the phone whether it’s likely a same-visit fix. We answer 24/7. Fast dispatch from 7am to 7pm, Sunday through Friday.
A gate that opens but won’t close is almost always a safety input problem, not a mechanical failure. The operator believes something is in the path of the gate. The most common causes are misaligned photo-eyes, a blocked safety beam, a failed reversing edge, or a loop detector that’s picking up phantom signals. Check for obstructions first, then look at whether the photo-eyes are pointed at each other. If the problem persists, call a gate specialist who can test each safety input individually.
The reset procedure varies by brand and model. On most LiftMaster operators, you can clear a fault by unplugging the unit for 30 seconds and plugging it back in. On BFT and FAAC systems, there’s usually a reset button or a specific button sequence on the board. Before doing any reset, write down the error code or note which LEDs are blinking, because resetting erases the diagnostic information a technician needs. If you’re unsure about the reset procedure for your specific operator, call (855) 490-6590 and we can walk you through what’s safe.
Yes. Our technicians are hands-on familiar with Mighty Mule, Ghost Controls, LiftMaster, FAAC, BFT, Linear, Viking, DoorKing, and Elite gate systems. We service residential and commercial operators across the full brand spectrum, so you don’t need to find a separate specialist for a niche or budget brand. The same team that repairs a high-end BFT swing gate can handle a Mighty Mule retrofit on a Highland Park driveway.
The most common gate problem we see in Highland Park is mechanical binding caused by shifting soil and worn hinges on hillside properties. The combination of older homes, retrofit automations, and ground movement along the neighborhood’s slopes creates hinge and alignment failures that generic gate guides don’t address. The good news is that most binding issues are repairable without replacing the gate, as long as they’re caught before the motor burns out fighting the resistance.
The Bottom Line
Your gate’s behavior is a diagnostic language. The pattern of failure, the brand of operator, the age of the system, and the specific conditions of your Highland Park property all feed into an accurate diagnosis. Most gate problems are repairable without full replacement. Most “motor failures” turn out to be something simpler, something cheaper, and something that could have been caught earlier with a little observation. The key is knowing what you’re looking at before you start replacing parts, and knowing when the problem is beyond what a homeowner should attempt. When that time comes, call a gate specialist who knows your brand and knows Highland Park.
Call (855) 490-6590 for a free estimate. We answer 24/7. Fast dispatch from 7am to 7pm, Sunday through Friday.
Written by the team at Sentinel Gate Repair, serving Highland Park since 2016.